
Last updated October 17, 2026
 Wrought iron
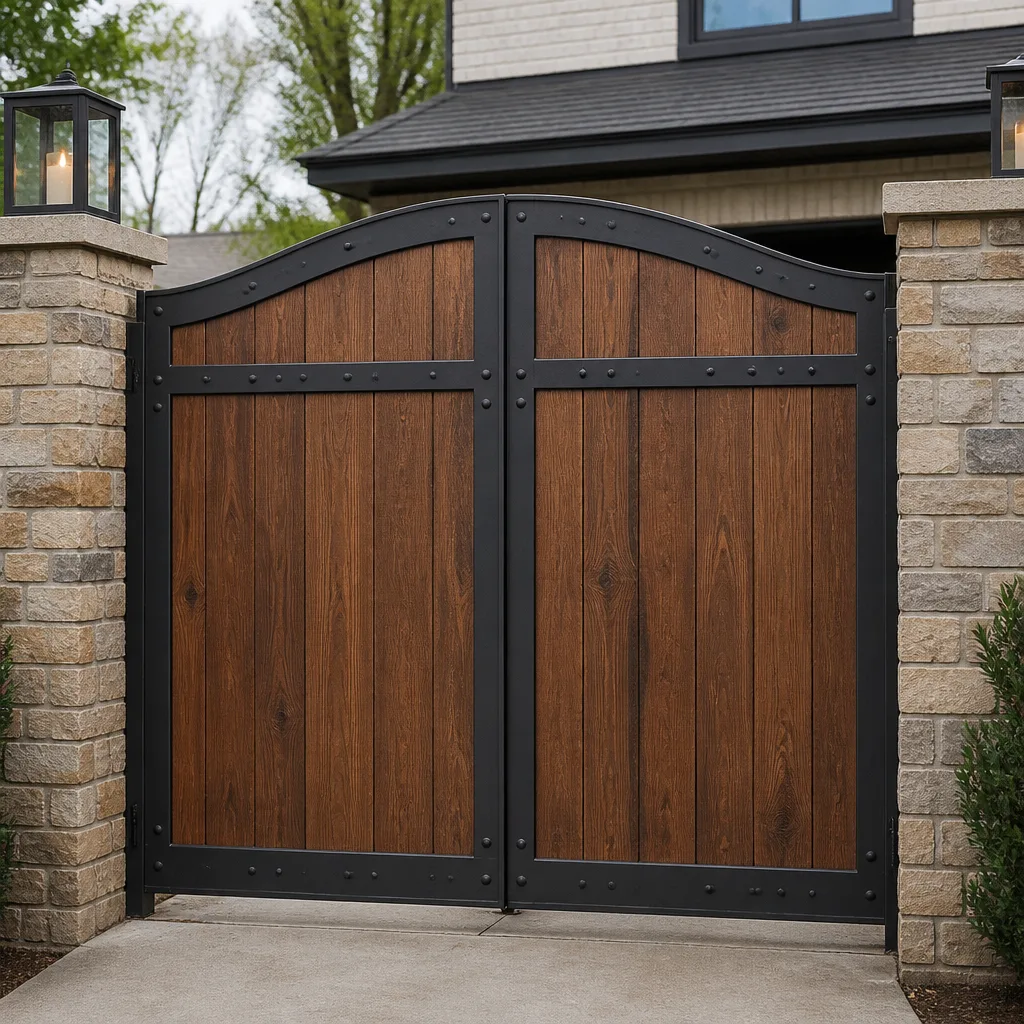 Wood & steel frame
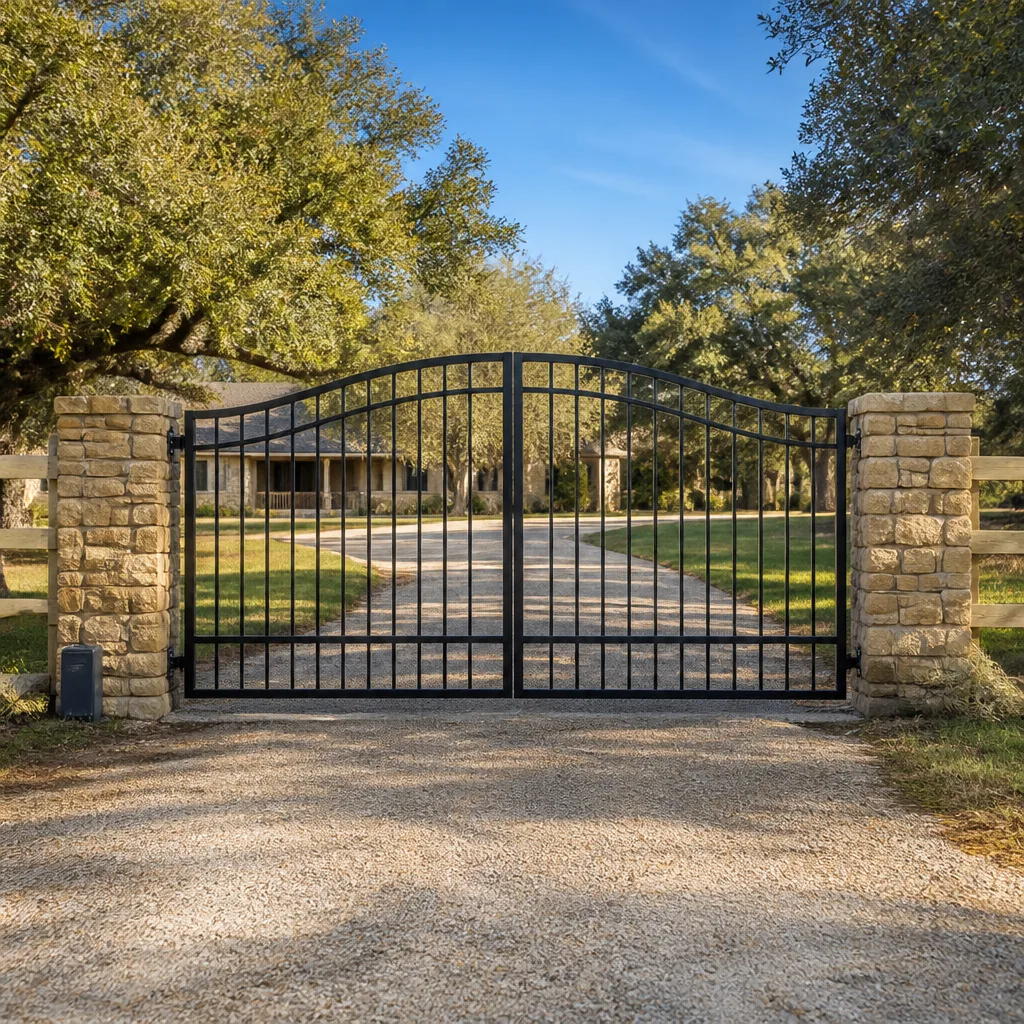 Farm & ranch
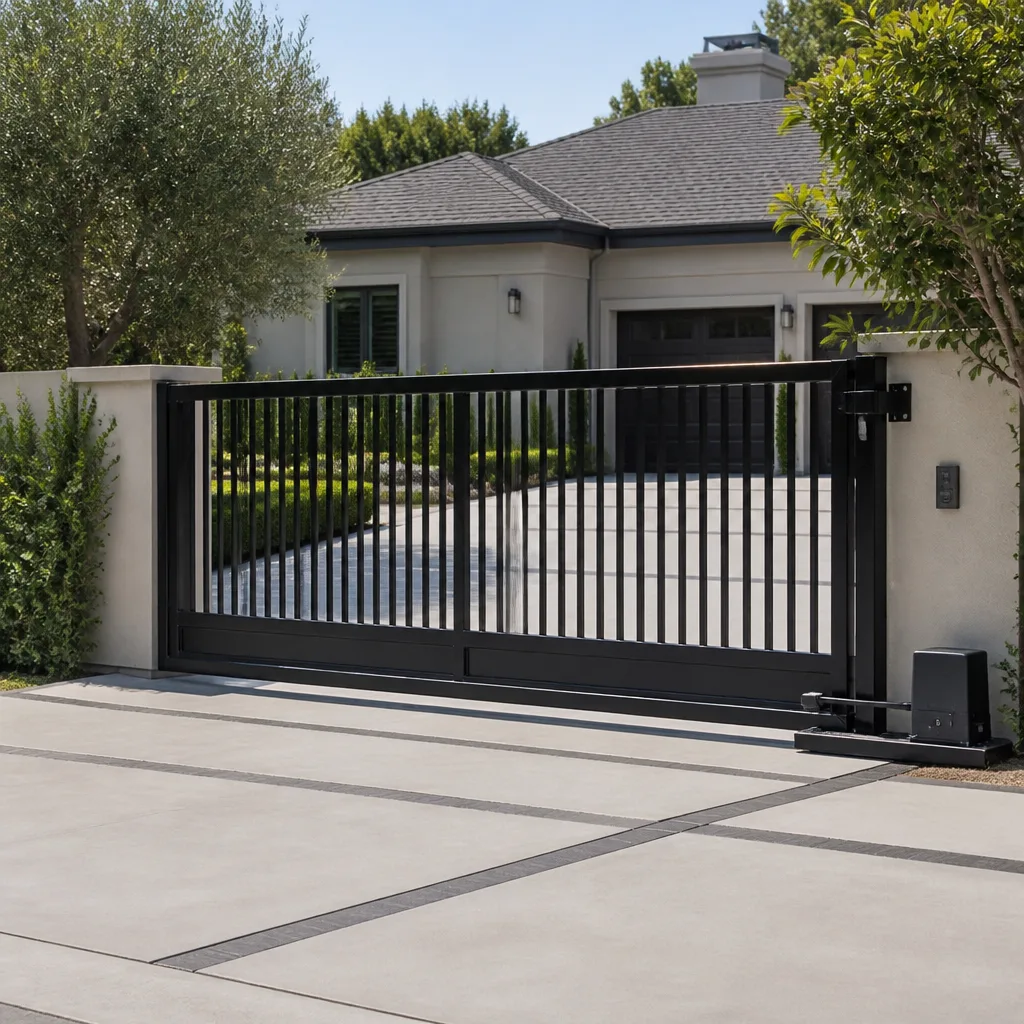 Sliding driveway gates
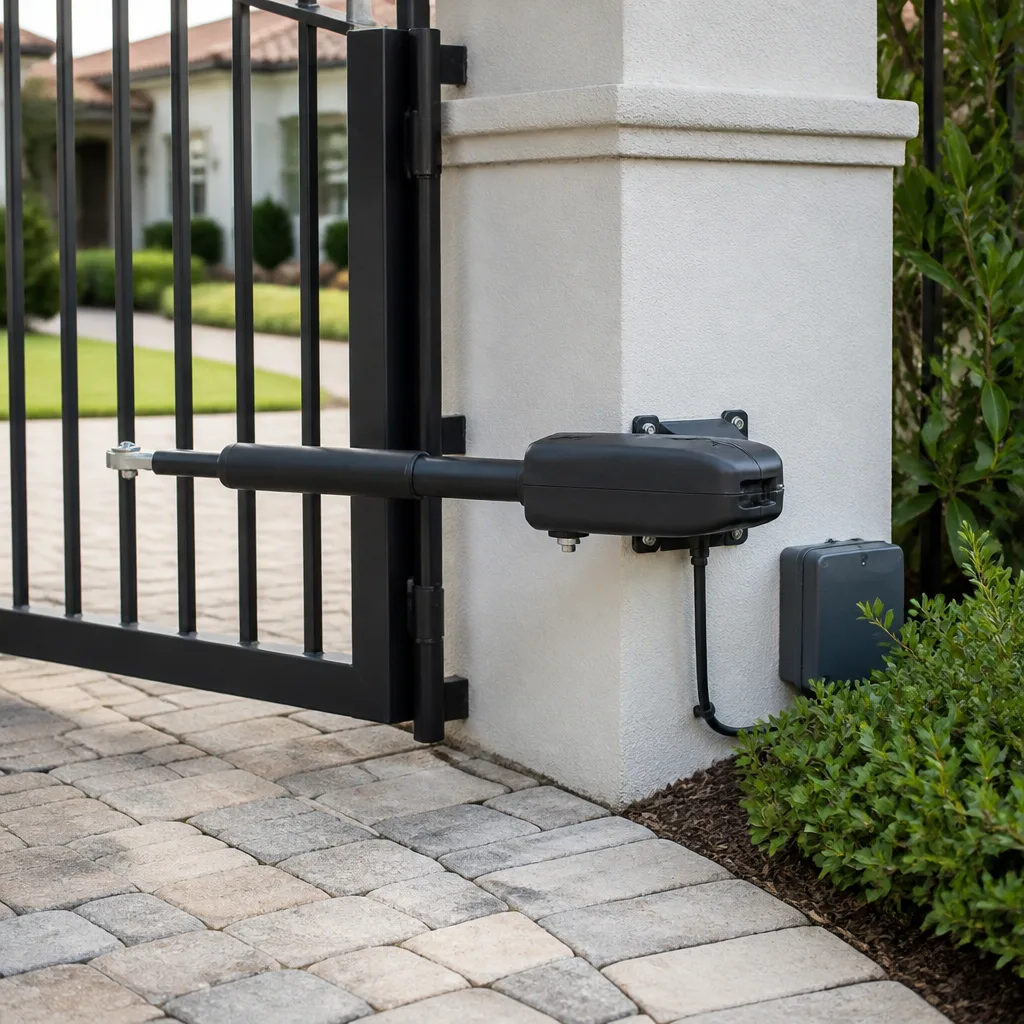 LiftMaster operators
Free on-site gate assessment - hinges, posts, and your LiftMaster or Nice gate operator checked before anything is quoted
The assessment is free and the quote is the invoice.
Get your free estimateGate Repair Maintenance Checklist for Fresno Homeowners
A gate hinge that has shifted just three-eighths of an inch out of plumb puts roughly 60% more shear stress on its lag bolts. That’s a measurement any Fresno homeowner can take with a $6 bubble level, but almost no checklist ever mentions it. Most maintenance guides tell you to “inspect the hinges” without telling you what an acceptable hinge looks like versus one that’s quietly failing. This guide gives you the actual numbers: the tolerances, the gap measurements, the latch throw distances, and the dollar thresholds that separate a $40 tune-up from a $700 post reset. By the time you finish, you’ll have a pass/fail audit you can run on your own gate this weekend, plus a photo-documentation method that catches drift a year before it becomes a gate repair.
Quick Answer
A Fresno gate maintenance checklist should measure sag (no more than 1/4 inch drop at the strike side), hinge lag bolts (flush, not proud), latch throw (full engagement, 1/2 inch minimum), and four specific lubrication points, with seasonal re-checks after fall rain and summer heat. Most gates need 30 minutes of attention twice a year, and the pass/fail numbers in this guide tell you whether a problem is a $90 adjustment or a $400 – $700 post reset. For more guides & resources, explore our blog.
Styles & brands we work with
Table of Contents
- Measuring Sag: The 1/4-Inch Rule That Catches Most Gate Problems
- Hinge Torque: What Flush and Proud Actually Mean
- Latch Throw Distance: The Number Nobody Checks
- The Four Lubrication Points on a Fresno Gate, and What to Use on Each
- Fresno Seasonal Triggers: Soil Heave, UV Chalking, and Overspray Corrosion
- Photo Documentation: Catching Drift Year Over Year Without Hiring Anyone
- The When-to-Call Decision Tree: Real Dollar Thresholds
- Common Mistakes to Avoid
- When to Call a Professional
- Frequently Asked Questions
Measuring Sag: The 1/4-Inch Rule That Catches Most Gate Problems
Sag is the single most common gate issue we see in Fresno, and it’s also the easiest to measure before it becomes expensive. The fix for a sagging gate ranges from a $90 hinge adjustment to a $700 post reset, and the difference comes down to how early you catch it. A gate that sags enough to scrape the ground or drag across the latch side has already moved past the cheap-fix window in most cases. See our Gate Repair Warning Signs: A Fresno Homeowner’s Reference Guide for earlier indicators.
The measurement anyone can take at home is simple. Close the gate and look at the gap between the latch-side edge of the gate and the post. On a properly hung gate, that gap should be consistent top to bottom, within 1/8 inch. If the top of the gate leans away from the post and the bottom gap is visibly tighter than the top gap, you’re looking at sag. The pass/fail number is 1/4 inch of total drop at the strike side. Less than 1/4 inch is normal wear. More than 1/4 inch means at least one hinge has shifted or the post has begun to move.
Here’s why the 1/4-inch number matters more than a visual check: most people don’t notice a gate problem until the gate scrapes gravel or the latch stops lining up. By that point, the hinge lag bolts have been working against the wood or steel for months, and the fastener holes may already be wallowed out. A $6 bubble level held vertically against the hinge-side post tells you which side is moving. If the post is dead plumb but the gate leans, the problem is the hinge connection, which is almost always a $90 – $180 repair. If the post itself is out of plumb, the problem is below ground, and that’s a different conversation.
A 2-Minute Sag Audit
- Close the gate and stand on the latch side.
- Measure the gap between the gate edge and the post at the top, middle, and bottom using a tape measure or a folded piece of paper.
- Note the difference between the top gap and the bottom gap.
- Hold a bubble level vertically against the hinge-side post. Any bubble movement outside the center lines means the post has moved.
- Mark the date and the measurements on a note in your phone or on the photo-documentation card below.
Fresno’s clay-heavy soil makes post movement more common here than in coastal California. The first real rain after summer sends moisture deep into the soil, and clay expands unevenly depending on how much water each part of the yard receives. A post that was fine in August can shift half an inch by December, which is why the seasonal re-check in this guide happens after the first fall rain. For homeowners who want the full context on what’s involved in a repair when sag has already set in, our Gate Repair in Fresno page walks through the process and pricing without any surprises.
Hinge Torque: What Flush and Proud Actually Mean
A hinge lag bolt that is “proud” is one where the bolt head stands off the hinge plate, even by a sixteenth of an inch. That small gap means the threads have lost their bite in the wood or the steel has stretched. Proud bolts are the most reliable early warning sign of a gate that will sag within the next year, and checking for them takes less time than finding the right key for the side gate lock.
Run your finger across each hinge bolt head where it meets the hinge plate. A properly set lag bolt sits flat and tight against the metal, with no visible gap and no rust staining around the head. If the bolt head has backed out even slightly, the hinge is working under load every time the gate opens, and the movement is transferring force directly into the fastener hole. In wood gates, this ovalizes the hole over time. In steel gates, it stretches the bolt threads. Both failures get more expensive the longer they’re ignored.
The test we use in the field is straightforward to replicate at home. Push the gate open halfway and lift slightly on the latch side. If you feel any vertical movement in the hinges, or if you hear a small clunk as the gate shifts, at least one bolt is no longer holding its original torque. That’s the window where a 30-minute fix, removing the bolt, adding a hardwood dowel or threaded insert, and re-driving it, solves the problem for years. Wait until the gate visibly leans, and the same repair often expands to include a hinge replacement or a post sleeve.
Fresno’s summer heat works against hinge bolts in a specific way. Steel expands faster than the wood or powder-coated aluminum around it, and after enough 100-degree cycles, bolts that were installed without a torque check can walk out on their own. The good news is that checking takes one finger and two minutes per hinge. If you feel looseness, mark the bolt with a sharpie line across the bolt head onto the hinge plate, then check again in a week. If the line has separated, the bolt is actively moving, which is a call-us-today finding rather than a watch-and-wait one.
Latch Throw Distance: The Number Nobody Checks
Latch throw is the distance the latch bolt travels from fully retracted to fully extended. On most residential Fresno gates, a healthy latch throw is between 1/2 inch and 3/4 inch. If the bolt extends less than 1/2 inch into the strike plate, the gate can be pushed open by a dog, a gust of wind, or a child leaning on it. We’ve rebuilt gates where the latch only traveled 1/4 inch and the homeowner had no idea, because the gate “looked closed.”
The test is visual and takes ten seconds. Open the gate and look at the latch mechanism on the edge of the gate. Operate the lever or knob and watch how far the bolt extends. Then close the gate and look at where the bolt meets the strike plate on the post. The bolt should enter the strike plate hole fully, with no visible gap between the bolt face and the back of the strike. If the bolt only catches the edge of the strike, or if the gate rattles when you push on it from the outside, the latch throw has degraded or the gate alignment has shifted.
This single measurement catches three different failure modes that all look the same to an untrained eye. A short throw on a new-looking latch often means the gate has sagged and the strike no longer lines up. A short throw on an old latch often means internal latch wear, which is a $40 – $80 parts-and-labor fix in most Fresno neighborhoods. A short throw with a stiff lever often means the internal spring has broken and the latch needs replacement. The fix direction is different for each, which is why the measurement matters more than the conclusion.
If you have an electric opener on the gate, latch throw becomes a safety issue. A Ghost Controls or Viking opener relies on the gate fully closing and latching before the control board registers the cycle as complete. A short throw can cause the opener to reverse mid-cycle or fault out. In our experience, about one in four service calls for intermittent electric gate operation turns out to be a mechanical latch problem rather than a board or motor problem, which is also the cheaper outcome. If your gate has automation and the latch feels weak, addressing the latch first often saves the cost of an Electric Gate Repair in Fresno diagnostic visit.
The Four Lubrication Points on a Fresno Gate, and What to Use on Each
Every residential gate has four lubrication points, and using one product on all four is the most common DIY lubrication mistake we see in Fresno. WD-40 is a solvent, not a lubricant, and it strips whatever protection was there before evaporating. Grease on a latch slide collects dust and becomes a grinding paste in a dry summer. The right product on the right point makes the gate quieter and extends hardware life by years, and the product choices are available at any Fresno hardware store.
Here are the four points and what belongs on each:
- Hinge pins and pivot points: White lithium grease. It stays in place, resists water, and won’t run down the gate face in summer heat. Apply a thin film to the exposed pin surface and work the gate back and forth three times.
- Latch slides and internal latch mechanism: Teflon dry lube (spray). It coats without attracting dust, which matters in Fresno’s dry months when airborne dust is constant. Spray into the latch opening, operate the latch five times, and wipe the excess.
- Gate closer arms and piston shafts (if equipped): Silicone spray on the shaft only. It protects the seal without swelling the rubber, which is what petroleum lubricants will do.
- Electric opener drive chain or belt (if equipped): Chain gets white lithium grease. Belts get nothing: belt drives are designed to run dry, and any lubricant on a belt shortens its life.
The timing matters as much as the product. In Fresno’s July and August heat, white lithium grease applied in direct sun will melt and run. Lubricate in the early morning or after sunset, and wipe away any excess with a clean rag after working the gate. Twice a year is right for most gates: once in late September before the fall rain cycle, and once in late March as the dust season peaks. If you’re also planning a larger upgrade or a full replacement rather than a tune-up, our Gate Installation in Fresno page covers what a new gate should include and what it costs in the local market.
Fresno Seasonal Triggers: Soil Heave, UV Chalking, and Overspray Corrosion
Three Fresno-specific conditions cause the majority of gate failures we see, and none of them show up on a generic checklist written for a national audience. The first is soil heave after the first fall rain. The second is UV-caused paint chalking on wood gates, which precedes rot by several months. The third is irrigation overspray corrosion on iron and steel gates, concentrated within the first eighteen inches of the ground.
Fresno sits on clay-rich alluvial soil that swells dramatically when wet and shrinks when dry. A gate post set in clay will move seasonally even when it was installed correctly, and the first rain after a long dry stretch is the single highest-risk week of the year for post movement. The check is simple: after the first meaningful rain of the season, re-run the plumb-bubble check from the sag section above. If the post was plumb in August and is out of plumb in November, the soil has shifted. A post that moves more than 1/2 inch out of plumb in a season needs a reset rather than a shim; a post that moves less than 1/4 inch is worth watching.
UV chalking is the second quiet killer. Fresno averages over 270 sunny days a year, and the summer UV index routinely sits in the very high to extreme range. On a painted wood gate, the first sign of trouble is a chalky white or gray residue that comes off on your hand when you rub the surface. That chalking means the paint’s binder has broken down, and the wood beneath is no longer sealed. The window between first chalking and first rot is often only one wet season, because Fresno’s wet winters concentrate moisture against wood that’s already lost its protection. The fix at the chalking stage is a sand-and-repaint, typically a weekend project. The fix at the rot stage is board replacement or structural repair, which is several hundred dollars more.
Overspray corrosion on iron gates is the most preventable trigger we see. In many Fresno yards, sprinkler patterns overlap the gate or the gate post, and the constant wet-dry cycle attacks the powder coat or paint at the base. The tell is rust bleeding from bolt holes, bubbled paint near the ground, or a crusty white oxidation line at the grass level. The fix is to redirect the sprinkler nozzle, then treat the existing corrosion before it breaks through the coating. A homeowner who catches overspray in year one gets away with sanding and touch-up paint. By year three, the same gate often needs media blasting and re-coating, which is a $600 – $900 job in the Fresno market.
Photo Documentation: Catching Drift Year Over Year Without Hiring Anyone
The most useful maintenance habit we can offer Fresno homeowners costs nothing and takes five minutes twice a year. It’s a photo record that lets you compare your gate to itself, year over year, and catch drift you’d never notice day to day. The method is intentionally simple because a complicated system gets abandoned.
Stand in the same three positions every time you document, and take the same three photos on your phone:
- The strike-side gap: Stand on the latch side of the closed gate, hold your phone at gate-handle height, and photograph the gap between the gate edge and the post. Include a reference object if you can, a quarter works well because it’s a consistent size.
- The hinge side from six feet back: This photo captures the whole gate in relation to the post line. Over time, even subtle post lean becomes visible when you flip between two photos taken a year apart.
- The base of each post: Photograph the ground contact from a low angle, close enough to see cracks in concrete collars, soil gaps around the post base, or new rust at the dirt line.
Name the photos with the date and location in your phone, and make sure your photo app’s location tagging stays on. When you compare spring photos year over year, a post that has shifted becomes obvious in a way it never does in person, because you can overlay the images mentally or side by side. We use the same principle on service calls: a photo of the existing condition before we touch anything gives the homeowner a baseline to see what we did and to track what happens next.
This documentation habit also pays off when you do call a professional. A technician who can see your March photo and your October photo knows whether a crack is old and stable or new and active, and that information changes the repair recommendation. It’s the difference between “we can watch this for another year” and “this should be addressed before the wet season.” Either way, you walk into the conversation with evidence instead of a vague feeling that something’s different.
The When-to-Call Decision Tree: Real Dollar Thresholds
A maintenance checklist is only as useful as the decision it produces. After you’ve run the measurements above, here’s how to translate each finding into a dollar figure and a timeline, based on what we see across Fresno zip codes.
- Sag under 1/4 inch, hinges tight: No action needed. Re-check in six months. Cost: $0.
- Sag under 1/4 inch but a hinge bolt is proud: A hinge adjust-and-tighten. Cost range in Fresno: $90 – $180 depending on gate weight and hinge condition. Book it within a month.
- Sag over 1/4 inch with a plumb post: Hinge rehabilitation. Wallowed-out holes get doweled or sleeved, new lag bolts installed, gate re-hung to spec. Cost range: $180 – $350. Book it before the next wet season.
- Post out of plumb more than 1/2 inch: Post reset. The concrete collar is broken, the post is re-set plumb, and the gate is re-hung. Cost range in the Fresno market: $400 – $700 for a standard single residential gate. This is the one to address promptly, because a moving post accelerates hinge wear and latch damage the longer it goes.
- Latch throw under 1/2 inch with no visible sag: Latch rebuild or replacement. Cost range: $40 – $80 in most cases. Do it the same week you find it, because a gate that doesn’t actually latch isn’t a gate.
- Rust at a bolt hole or the base of an iron gate: Surface rust is a $100 – $200 touch-and-treat. Structural rust that has thinned the metal is a replacement conversation, and the right time to scope that is before the gate fails entirely.
These numbers are ranges because gate size, weight, access, and existing condition all move the final figure. What shouldn’t move is the decision logic: every finding above has a cheaper window and a more expensive window, and the cheap window is almost always right now. If you’re in Fresno and want a written number for your specific gate, we offer free estimates that put the exact price on paper before any work happens, and the number doesn’t change unless the scope does. You can start with the Latch and Post Gate Repair Fresno home page for an overview of how that process works.
Common Mistakes to Avoid
- Using WD-40 on gate hinges. It’s a water displacer that strips lubricant and leaves metal drier than before. Use white lithium grease on hinge pins and Teflon dry lube on latch slides.
- Ignoring a proud lag bolt because the gate “still works.” A bolt that has backed out is already transferring load into a damaged hole. Tightening it without repairing the hole is a temporary fix at best, and often strips the threads entirely.
- Rechecking the gate only when it’s already dragging. By the time a gate scrapes the ground, the cheap-fix window has closed. The 1/4-inch sag measurement catches the same problem months earlier for a fraction of the cost.
- Assuming an electric gate problem is always electrical. In Fresno, we regularly find that intermittent opener faults trace back to a mechanical latch or an alignment issue. The mechanical check costs nothing and rules out the most common cause first.
- Skipping the fall post check in Fresno’s clay soil. The first rain after summer is the highest-risk week for post movement. Check plumb before the storm season, then again after the first real rain.
- Sanding and repainting over rust without treating the metal. Rust is a chemical process that continues under new paint. The metal needs a rust converter or inhibitor first, or the paint fails within a year.
- Lubricating in the heat of the day. White lithium grease melts and runs in Fresno’s summer afternoons. Early morning lubrication, wiped clean after working the gate, performs far better.
When to Call a Professional
A few findings are not worth the risk or time of a DIY repair. A post that has moved more than half an inch out of plumb needs to be reset below the grade, which involves breaking the concrete collar, re-plumbing the post in fresh concrete, and re-hanging the gate at the correct height and reveal. A gate that has fallen off its hinges entirely, or one where a lag bolt has snapped off in the post, needs fastener extraction and hole repair rather than a bigger screw. And any gate with an electric opener from Viking, Ghost Controls, DoorKing, or Elite deserves a professional diagnostic if the opener faults intermittently, because the fix is rarely just a new remote. Check Gate Repair Permits, Codes & Inspections in CA: What You Need to Know before starting major work. Latch and Post Gate Repair Fresno offers free estimates throughout Fresno: call (559) 785-2501 and we’ll put a written number in front of you before any work starts.
Frequently Asked Questions
Twice a year: once in late September before the fall rain cycle and once in late March as the dust season peaks. Use white lithium grease on hinge pins, Teflon dry lube on latch slides, and silicone spray on closer shafts if your gate has one. Avoid lubricating in the heat of the day, because the products run and the clean-up is messier on hot metal.
Minor repairs like hinge adjustments and latch replacements typically run $40 to $180 depending on the gate and hardware. More involved work like hinge rehabilitation runs $180 to $350, and a post reset runs $400 to $700 for a standard single residential gate. Call (559) 785-2501 for an exact written quote, with no obligation and the price finalized before any work begins.
A post that is out of plumb more than half an inch usually needs the concrete collar broken out, the post re-set plumb in fresh concrete, and the gate re-hung at the correct reveal. That’s a two-person job with a cure-time consideration, and getting the plumb right matters for gate longevity. A post that’s moved less than a quarter inch can often be left and re-checked after the next rain.
The brands we see performing well across Fresno include Viking, Ghost Controls, DoorKing, and Elite, and the right choice depends on gate weight, solar versus wired power, and access control needs. The more important variable is installation quality, because a well-installed mid-range opener outperforms a premium opener mounted on a moving post. If you’re weighing options, a Gate Installation in Fresno consultation can walk you through the trade-offs for your specific gate.
Fresno’s combination of irrigation overspray and hard water creates a concentrated wet-dry cycle at the base of iron gates, which accelerates oxidation. Sprinkler patterns that overlap the gate or post are the most common cause. Redirect the sprinkler nozzle, then treat the existing rust with a converter before repainting.
Hold a bubble level vertically against the hinge-side post. If the post is plumb but the gate leans, the problem is in the hinge connection. If the post itself is out of plumb, the problem is below ground. A hinge problem is typically a $90 to $350 repair, while a post problem often requires a $400 to $700 reset. Call (559) 785-2501 and we’ll measure both before quoting anything.
The Bottom Line
A Fresno gate maintenance checklist works when it gives you numbers instead of adjectives: 1/4 inch of sag, flush lag bolts, 1/2 inch of latch throw, four specific lubrication points with the right product on each. Run the audit twice a year, photograph the same three angles every time, and re-check plumb after the first fall rain when clay soil does its annual shift. Most findings under the cheap-fix threshold cost under $180 to address; ignoring them until the gate scrapes or the latch stops catching turns the same problem into a $400 to $700 post reset. The gate is trying to tell you how it’s doing. These measurements teach you how to listen.
Written by Cody Beckman, Owner at Latch and Post Gate Repair Fresno, serving Fresno since 2009.
See the difference
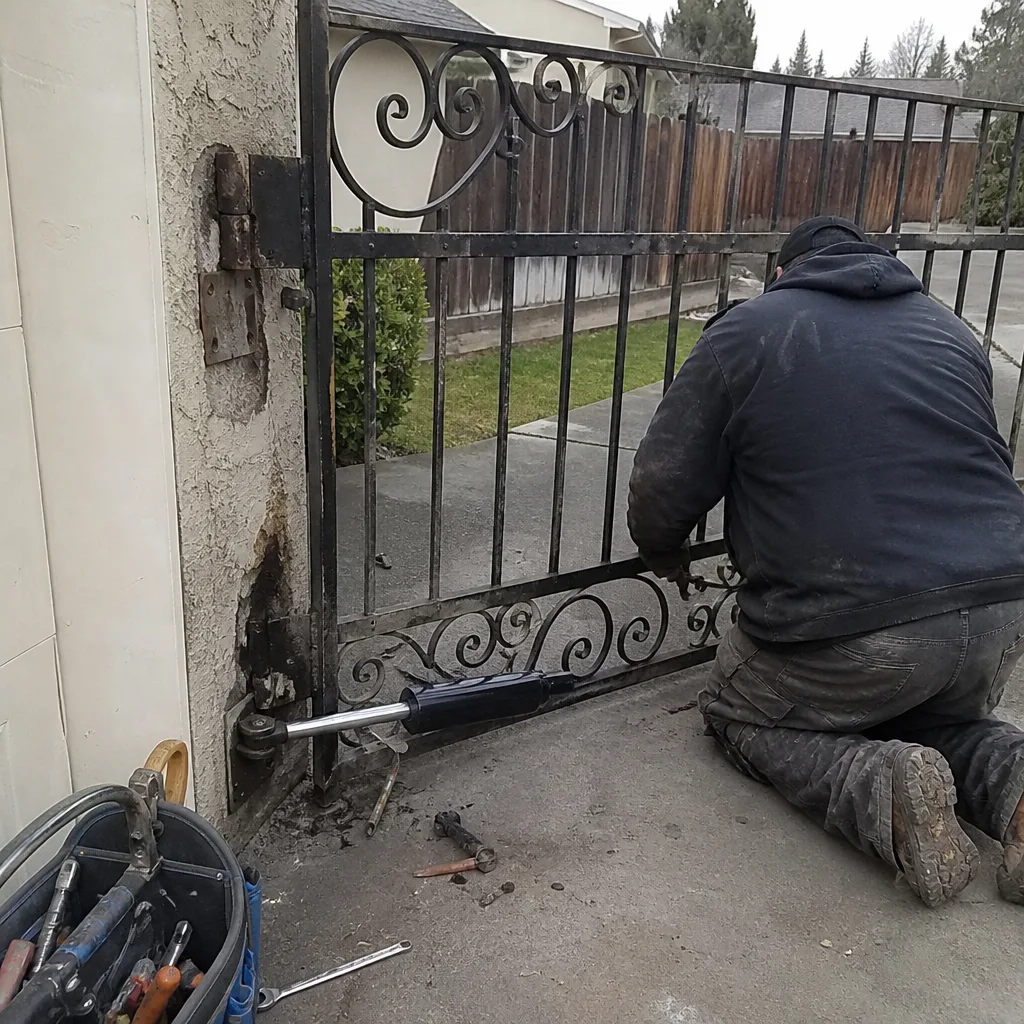 Before
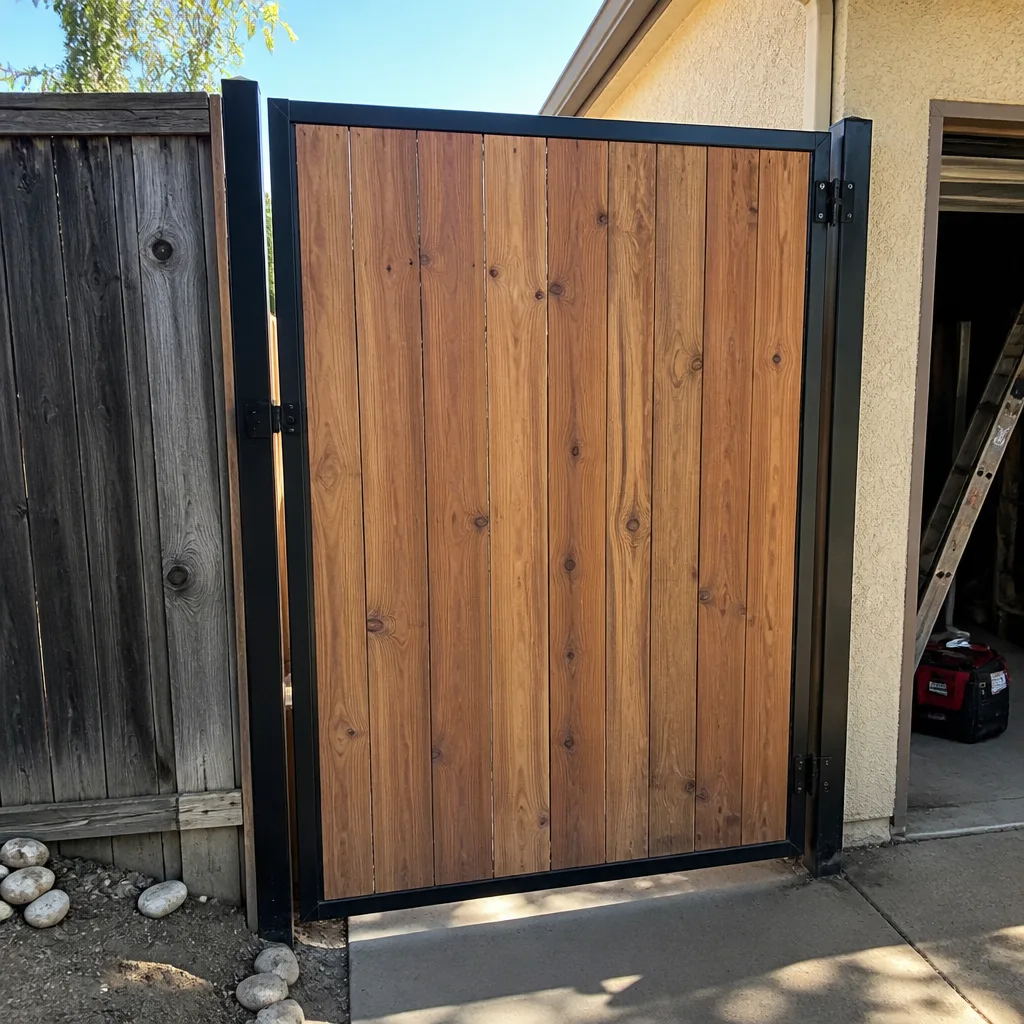
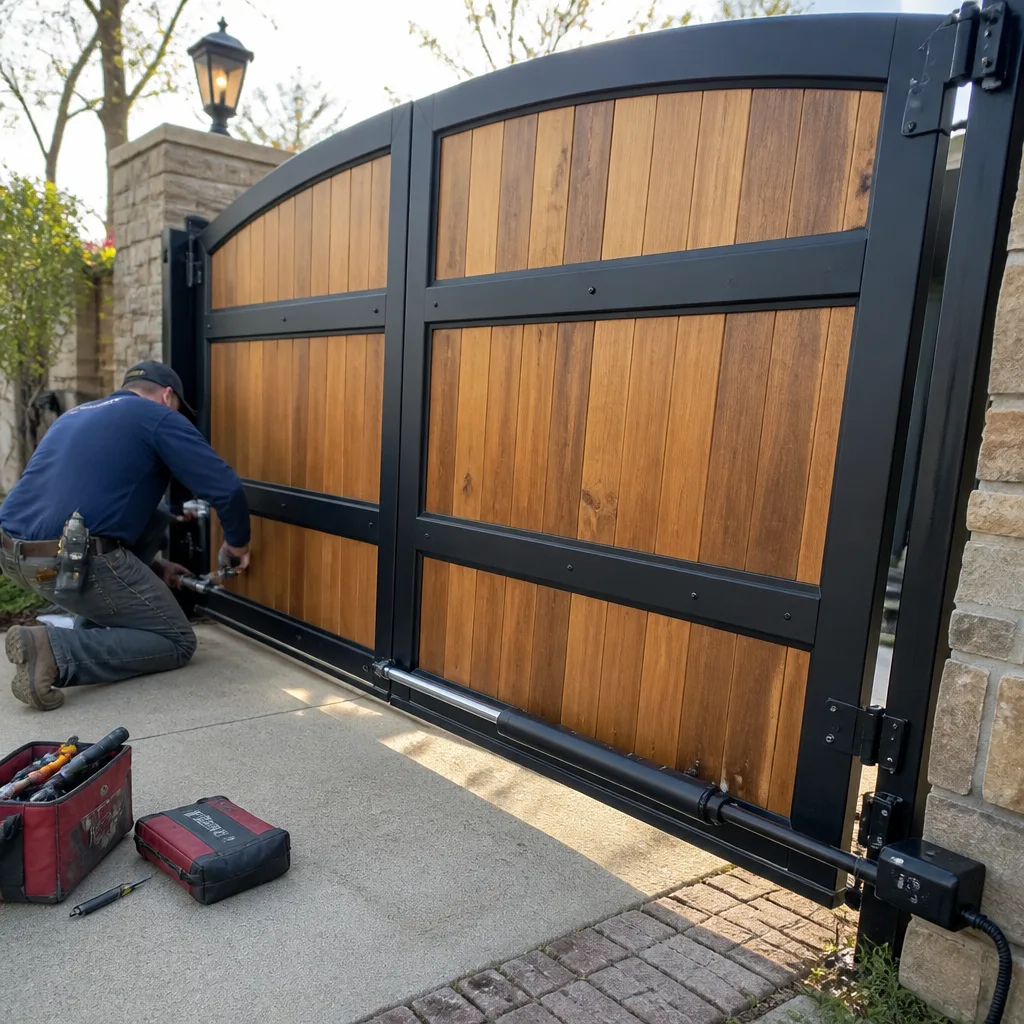 After
After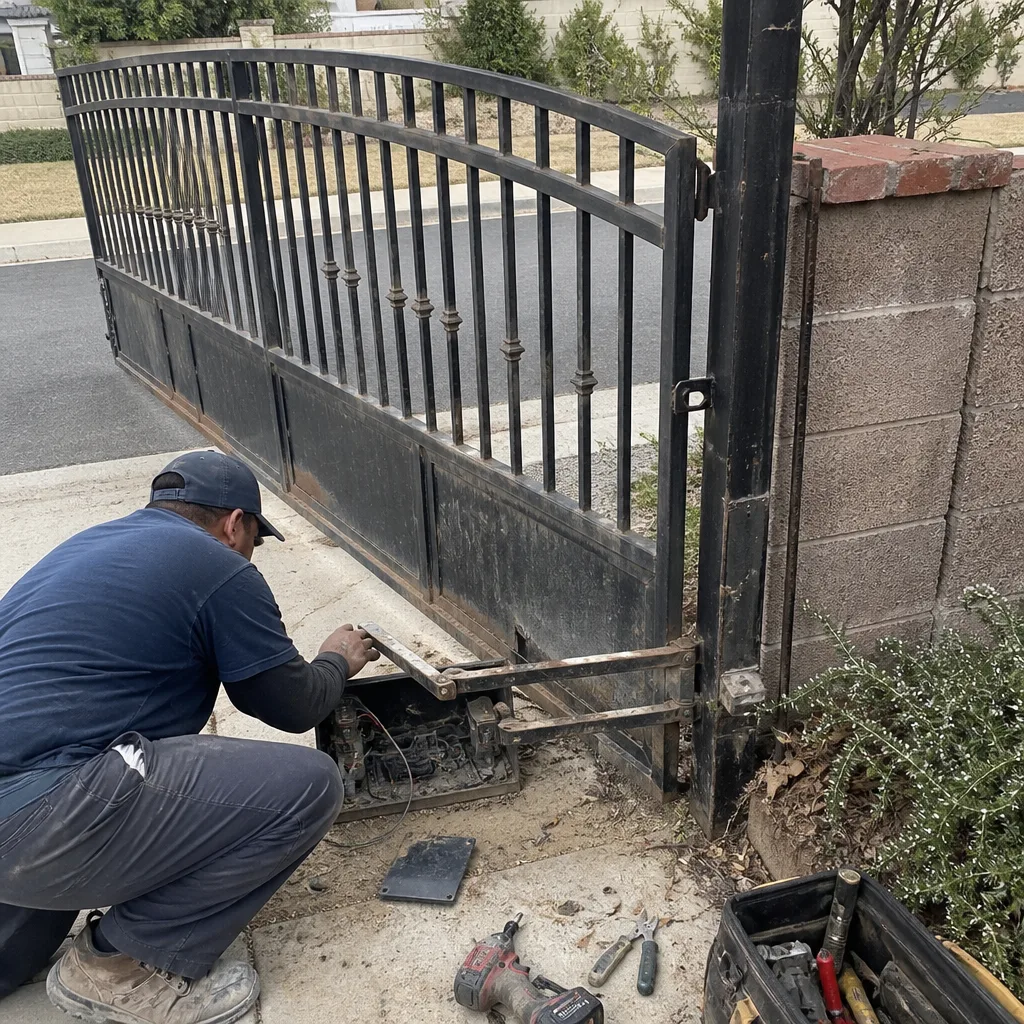 Before
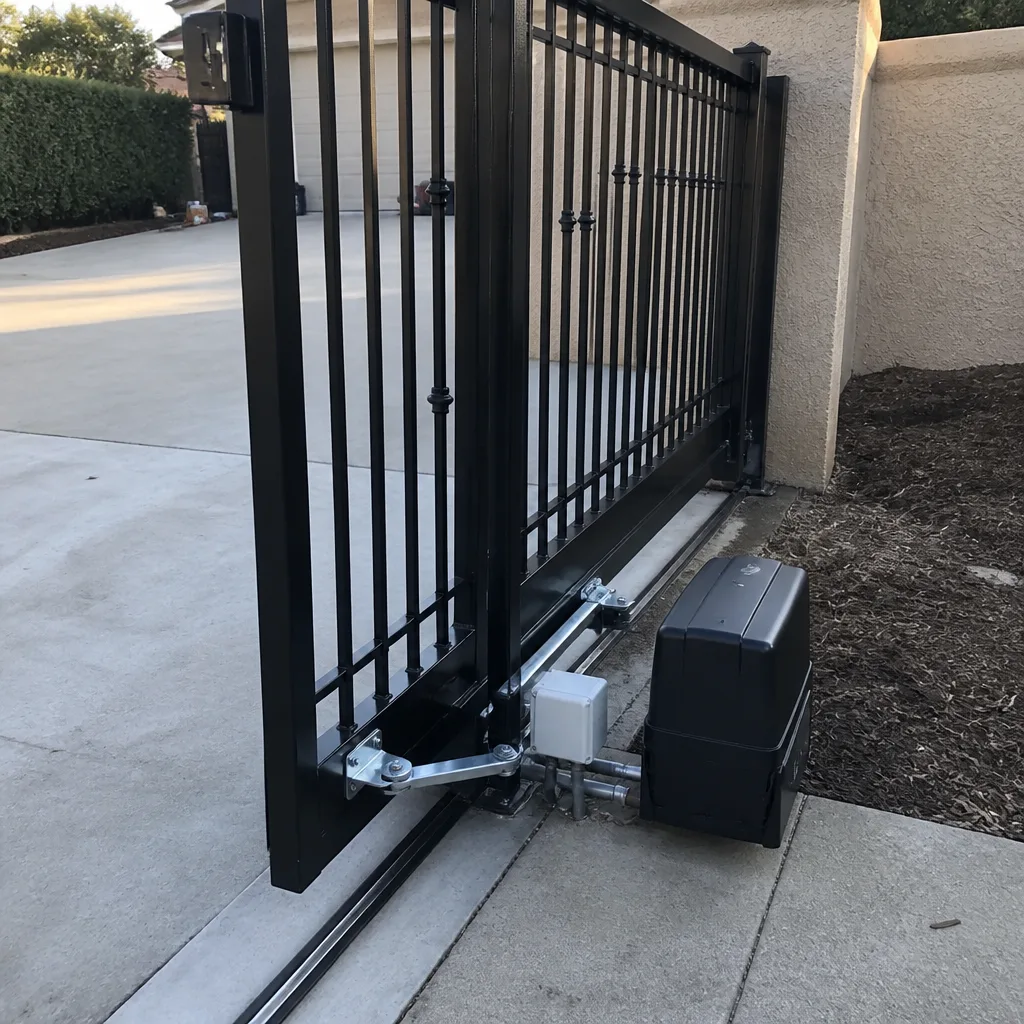 After
After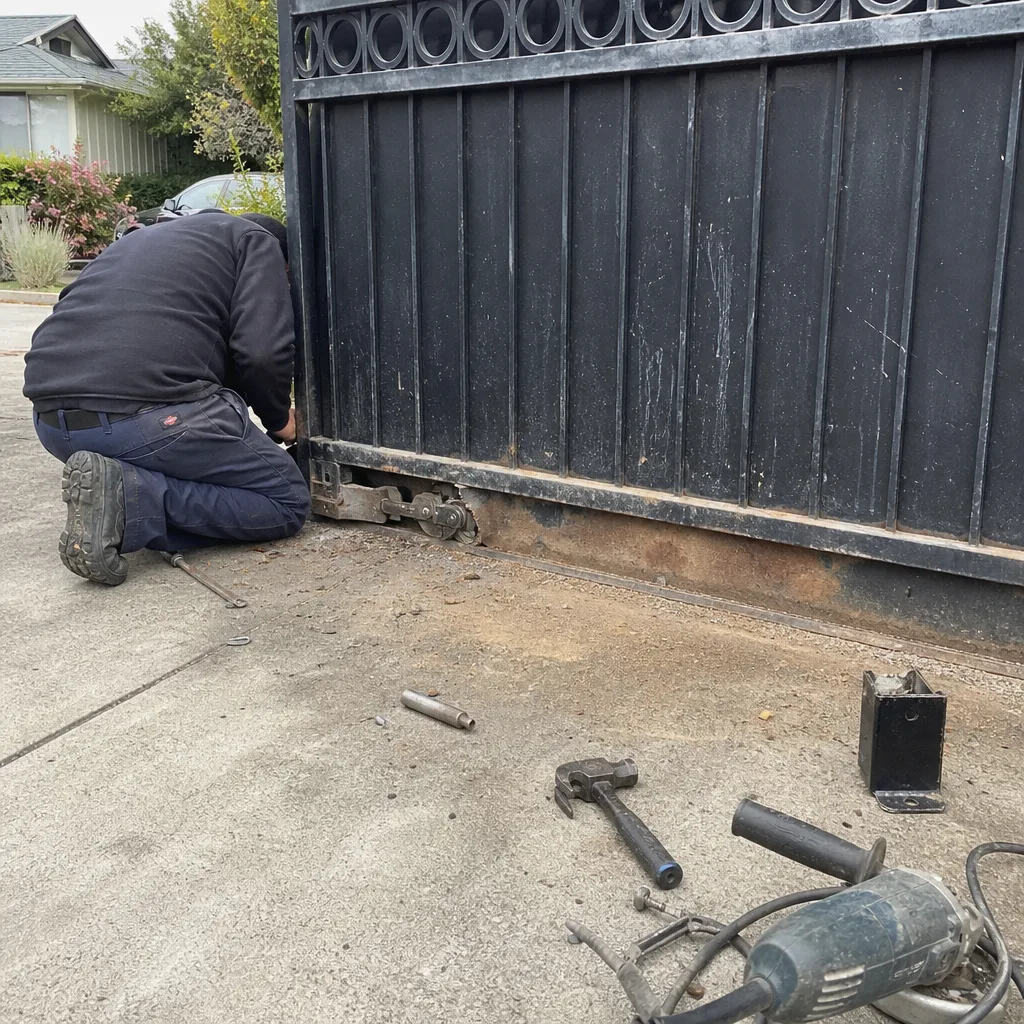 Before
 After
After